Tooth Drawing easy with this how-to video and step-by-step drawing instructions. How to draw for beginners and everyone.
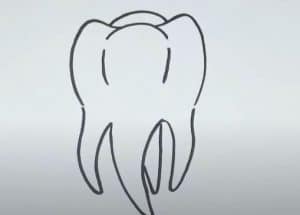
Please see the drawing tutorial in the video below
You can refer to the simple step-by-step drawing guide below
Step 1
The first thing you want to do is draw a circle. This will be the top of your molars or teeth. Next, draw three pointed shapes like you see here.
Step 2
Now you will start sketching the actual shape of the molars. The top of the tooth has nooks and crannies, almost like a canyon. After this is drawn in, you can then add some details to make the teeth look rounded and defined.
Step 3
Before you finish your final drawing, I think it would be helpful to know that the molars have three parts, the crown, the apex, the neck, the middle and the root, which is the claw to find the branch you want. will draw now. Once done, you can erase the principles and shapes that you drew in step one.
Step 4
This is what your teeth will look like when you’re done. I hope you had fun, join me again for another fun and educational lesson.
