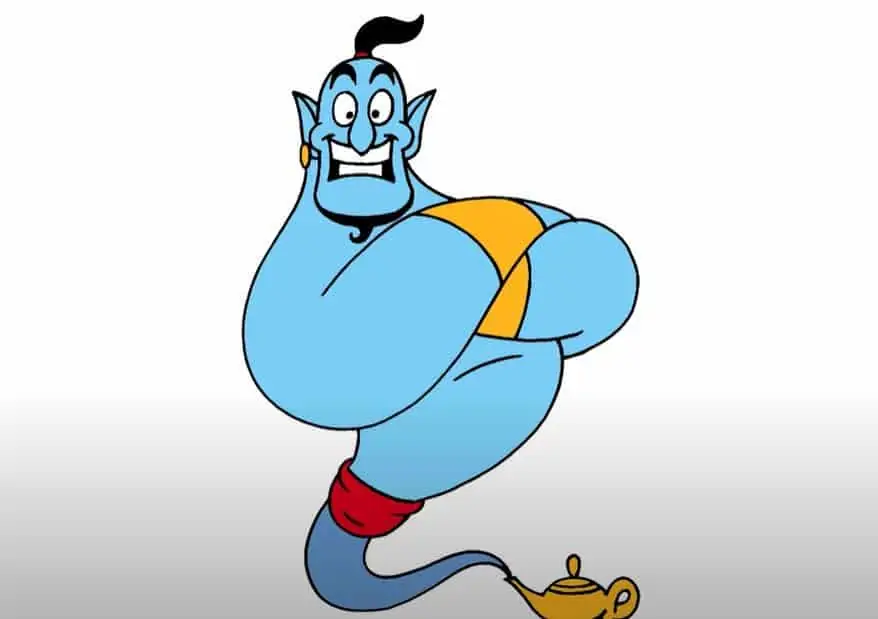
How To Draw Genie From Aladdin easy with this how-to video and step-by-step drawing instructions. Easy drawing tutorial for beginners and kids.
Please see the drawing tutorial in the video below
You can refer to the simple step-by-step drawing guide below
Step 1
To start Genie, we will first need to draw a large oval that will become his body and another smaller oval hovering above which will be his head.
As you can see, the oval that makes up Genie’s body curve is only slightly outward and the round shape of his head also curves inward in the same way.
Step 2
Draw a red shape on the left to create a right arm for Genie.
Step 3
Draw another similar shape on the opposite side of Genie’s body to create his remaining diagonal arm.
Steo 4
Give Genie three rounded fingers that just rest on top of his first arm and give him a long thin tail.
Step 5
Draw Genie’s mouth as shown in red on the left. As you can see, his mouth starts below his pointed cheek, and continues to the outer edge of his head.
Draw a black stripe across the center of his mouth to make it look like he’s grinning with his teeth.
Step 6
The two small bumps on the top of Genie’s head form his eyebrows and give him a small hooked nose that sits just above his mouth.
Draw a long oval on the side of Genie’s head, with a hoop for his ears.
Step 7
Shade the top of each hump on top of Genie’s head to form his eyebrows and give him a narrow oval eye.
Alternatively, we can give him a small bun on top of his head, which is held in place by a small hoop between his head and hair.
Steo 8
At this point, Genie is nearing completion. Give him a small piece of cloth around his waist, and that’s it!
If you enjoyed this tutorial, be sure to comment and like us on Facebook!


