How to Draw Bangs with this how-to video and step-by-step drawing instructions. Easy drawing tutorial for beginners and everyone.
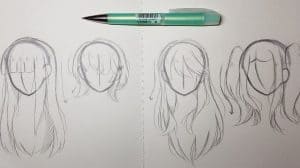
Please see the drawing tutorial in the video below
You can refer to the simple step-by-step drawing guide below
Let us start drawing bangs tutorial for you in no time. Just follow the steps and get on board:
The first thing is whether you have the necessary resources to make learning easy. Pencil, eraser, sharpener and some paper. As we said earlier, the more you practice, the more you learn.
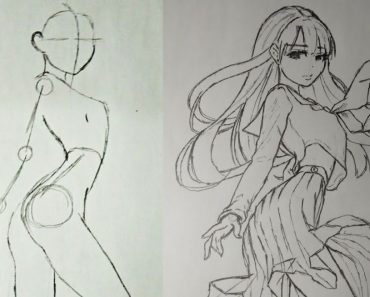
Let’s start with the basic requirement and that is to draw a shape where the bangs will be drawn later. Face. You can create any shape for the face but my favorite is the oval one. So let’s draw a face by drawing two ovals as shown in the picture.
Now to give our drawing more meaning, let’s not forget to make some facial strokes for our oval face. Draw eyes, nose, lips or mouth, eyebrows, eyelashes (if you can) and see if further editing is possible.
Now it’s time to start with straight bangs. But remember that it is in your hands to decide where to start your sketch from where the contours or bangs will begin. Below, we outline some of the points where you can avoid drawing and good places to start.
As we all know that hair just falls out naturally. So you can start drawing down hair streaks. We will draw basic contours with the help of pencil strokes so that we can erase later if needed.
Looking at the flow of the head shape, start drawing some basic lines in the direction slightly to the left and to the right as shown in the figure.
Now, finally, you can join the short fringes/bangs to make them livelier and make them look better.
Another type of bangs is flat bangs. Blue bangs can be drawn by drawing longer strands over the sides of the face and similarly you can draw shorter bangs as we did with straight bangs.
The main difference that one can observe in different bangs lies in the starting point of the bangs. If they are straight bangs, there is still a large gap between the hairs, and if they are observed in a blunt form, every hair appears to be obvious from the very beginning.
The final bang is a Birkin bang, everything remains the same. You draw like other bangs but note that you have to draw an inverted V-shaped bang as shown in the picture.
The only suggestion is to look closely and check the differences between the different shapes in the figure to distinguish different bangs or fringes. For the rest, we hope that you found this article very convenient and useful for such types of tutorials.
