How To Draw A Torch easy with this how-to video and step-by-step drawing instructions. Easy drawing tutorial for beginners and kids.
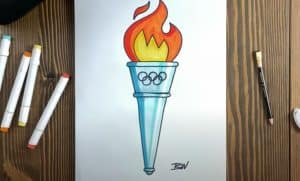
Please see the drawing tutorial in the video below
You can refer to the simple step-by-step drawing guide below
Step 1
Draw a circle for the hand guide, then trace a single guide line for the torch itself.
Step 2
Using the circle you just created, start sketching the closed hand or clenched fist, which is the hand of the Statue of Liberty holding the shaft of the torch.
Step 3
Now you will draw the top of the torch, then outline the detail. At this point the torch looks like the top of an ice cream cone.
Step 4
Now we’ll take the time to outline the roaring flames emanating from the torch, then add details to the burning flames.
Step 5
Now you will draw the rest of the handle, then draw the rest of the hand and then outline the wrist and forearm of the arm. Erase your mistakes and you’re done.
Step 6
This is the line art that you have completed. Now you can color your work.

