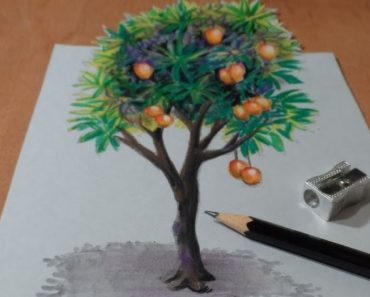
How to Draw a Maple Tree easy with this how-to video and step-by-step drawing instructions. Tree drawing tutorial for beginners and kids.
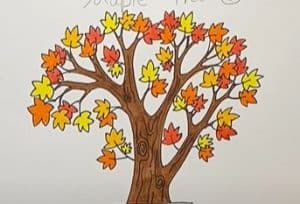
Please see the drawing tutorial in the video below
You can refer to the simple step-by-step drawing guide below
Step 1:
First, draw the roots of the tree. Draw two diagonal lines slightly apart. Draw two lines spaced up and down, right next to your last lines. Continue this about three more times but make sure that the first line of the origin connects to the last line of the origin that you just drew. You should have a small stream of these roots.
Step 2:
Now draw the trunk. Draw a straight line going up from the first origin you drew. Draw another line going up but this time from the top of the last origin you drew.
Step 3:
Then it’s time to draw the branches. Draw two long wavy lines from the top of the trunk. Add small spikes to the end of the two wavy lines connecting them. This is a branch. Keep doing this until you have as many branches as you want.
Step 4:
The last thing to do is draw the leaves. Start from one of the branches and draw a very small line from the branch. Draw three small spikes out of the line you just drew. Now you have a day off! Repeat this step around the different branches to create as many leaves as you want.
Interesting facts about maple trees
The maple tree is a common tree in North America. They can grow up to 145 feet tall. Maple leaves are very recognizable. The leaves on the maple tree are fan shaped. Seeds are sometimes referred to as “Helicopter Seeds.” That’s because of the 2 propellers on either side of the seed. The seeds fly with the wind. Maple trees are harvested for maple syrup. Maple farmers tap the trunk to get the syrup. During the fall months Maple trees are a tourist attraction because of their leaves turning bright red, orange or yellow.
