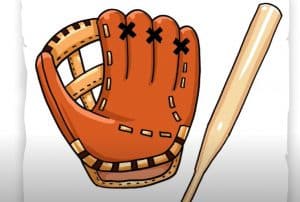
How To Draw A Baseball Glove easy with this how-to video and step-by-step drawing instructions. Easy drawing tutorial for beginners and all.

Please see the drawing tutorial in the video below
You can refer to the simple step-by-step drawing guide below
Step 1
Okay, let’s start this first step by drawing a pyramid like shape for the right side of the glove. This shape will be used as a guide for all baseball glove finger shapes. Next, move left and draw the thumb of the glove and add finger lines.
Step 2
Now that you have passed the first step easily, it is time to take the second step. What you will do here is draw individual shapes for the gloved fingers as shown in the illustration. Make sure they are rounded at the ends and then add the shape of the palm.
Step 3
You have completed the final drawing step and what you will do now is add detailed lines to the baseball glove. Add a crease in the palm and then add the leather strap to the thumb and little finger. You will add square holes between the thumb and forefinger of the baseball glove. Erase all the principles and shapes and move on to the next step.
Step 4
When you’re done, your gloves will look like this when you’re done. All you have to do now is color it with a special brown color. I hope you enjoyed this lesson on how to draw a baseball glove step by step.


